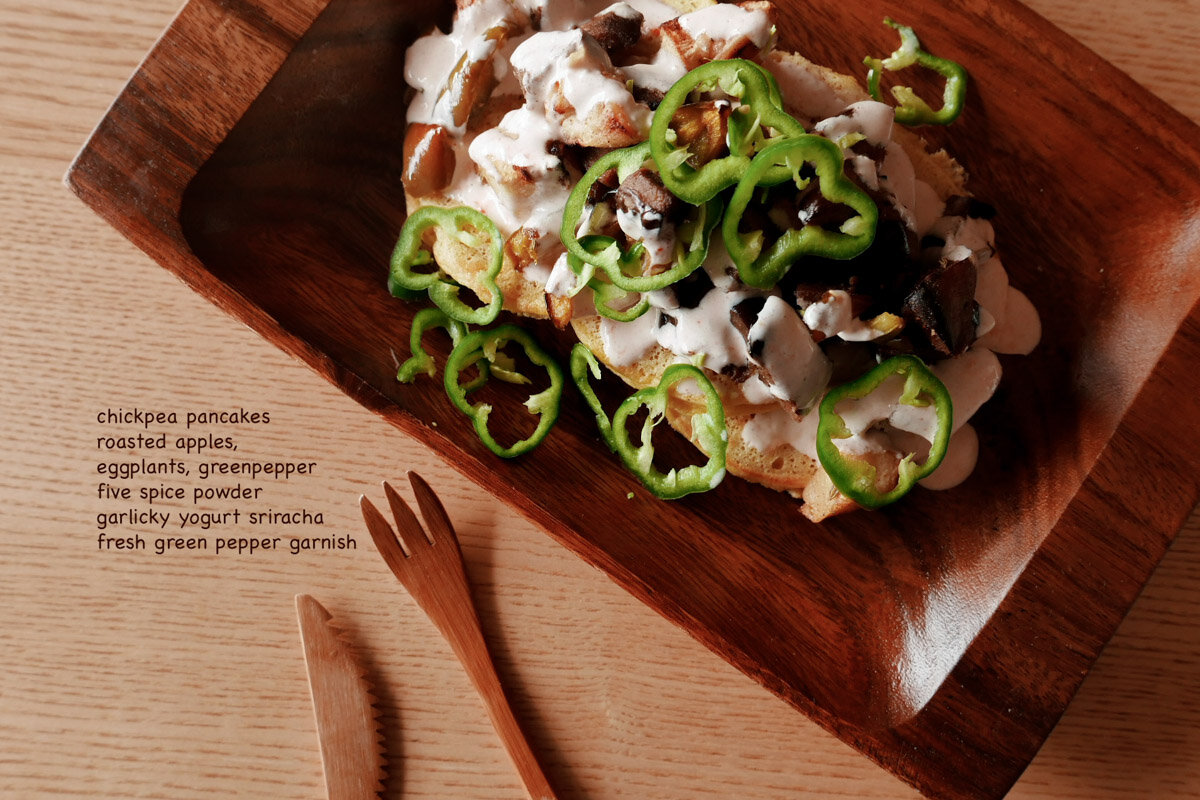
Chickpea pancakes with chunks of roasted apple, eggplant, and green pepper, topped with a garlicky yogurt sriracha dressing and slices of fresh green pepper.
It’s not often I get a bag of freshly grinded chickpea flour straight from the mill, and I’ll let you know that once I cooked with it, I realized that it just doesn’t compare to the store bought stuff. The pale-champagne yellow colored flour is baby powder soft, where lies the temptation to roll around in it If there had been kilos of it spread out on the floor. Instead, I pour the bag of flour into a mixing bowl and sink my hands into it to feel its coolness as its dust rise above and delicately lands on the top of my hands. There is something oddly soothing about this sensation, kind of like squeezing one of those squishy foam toys.
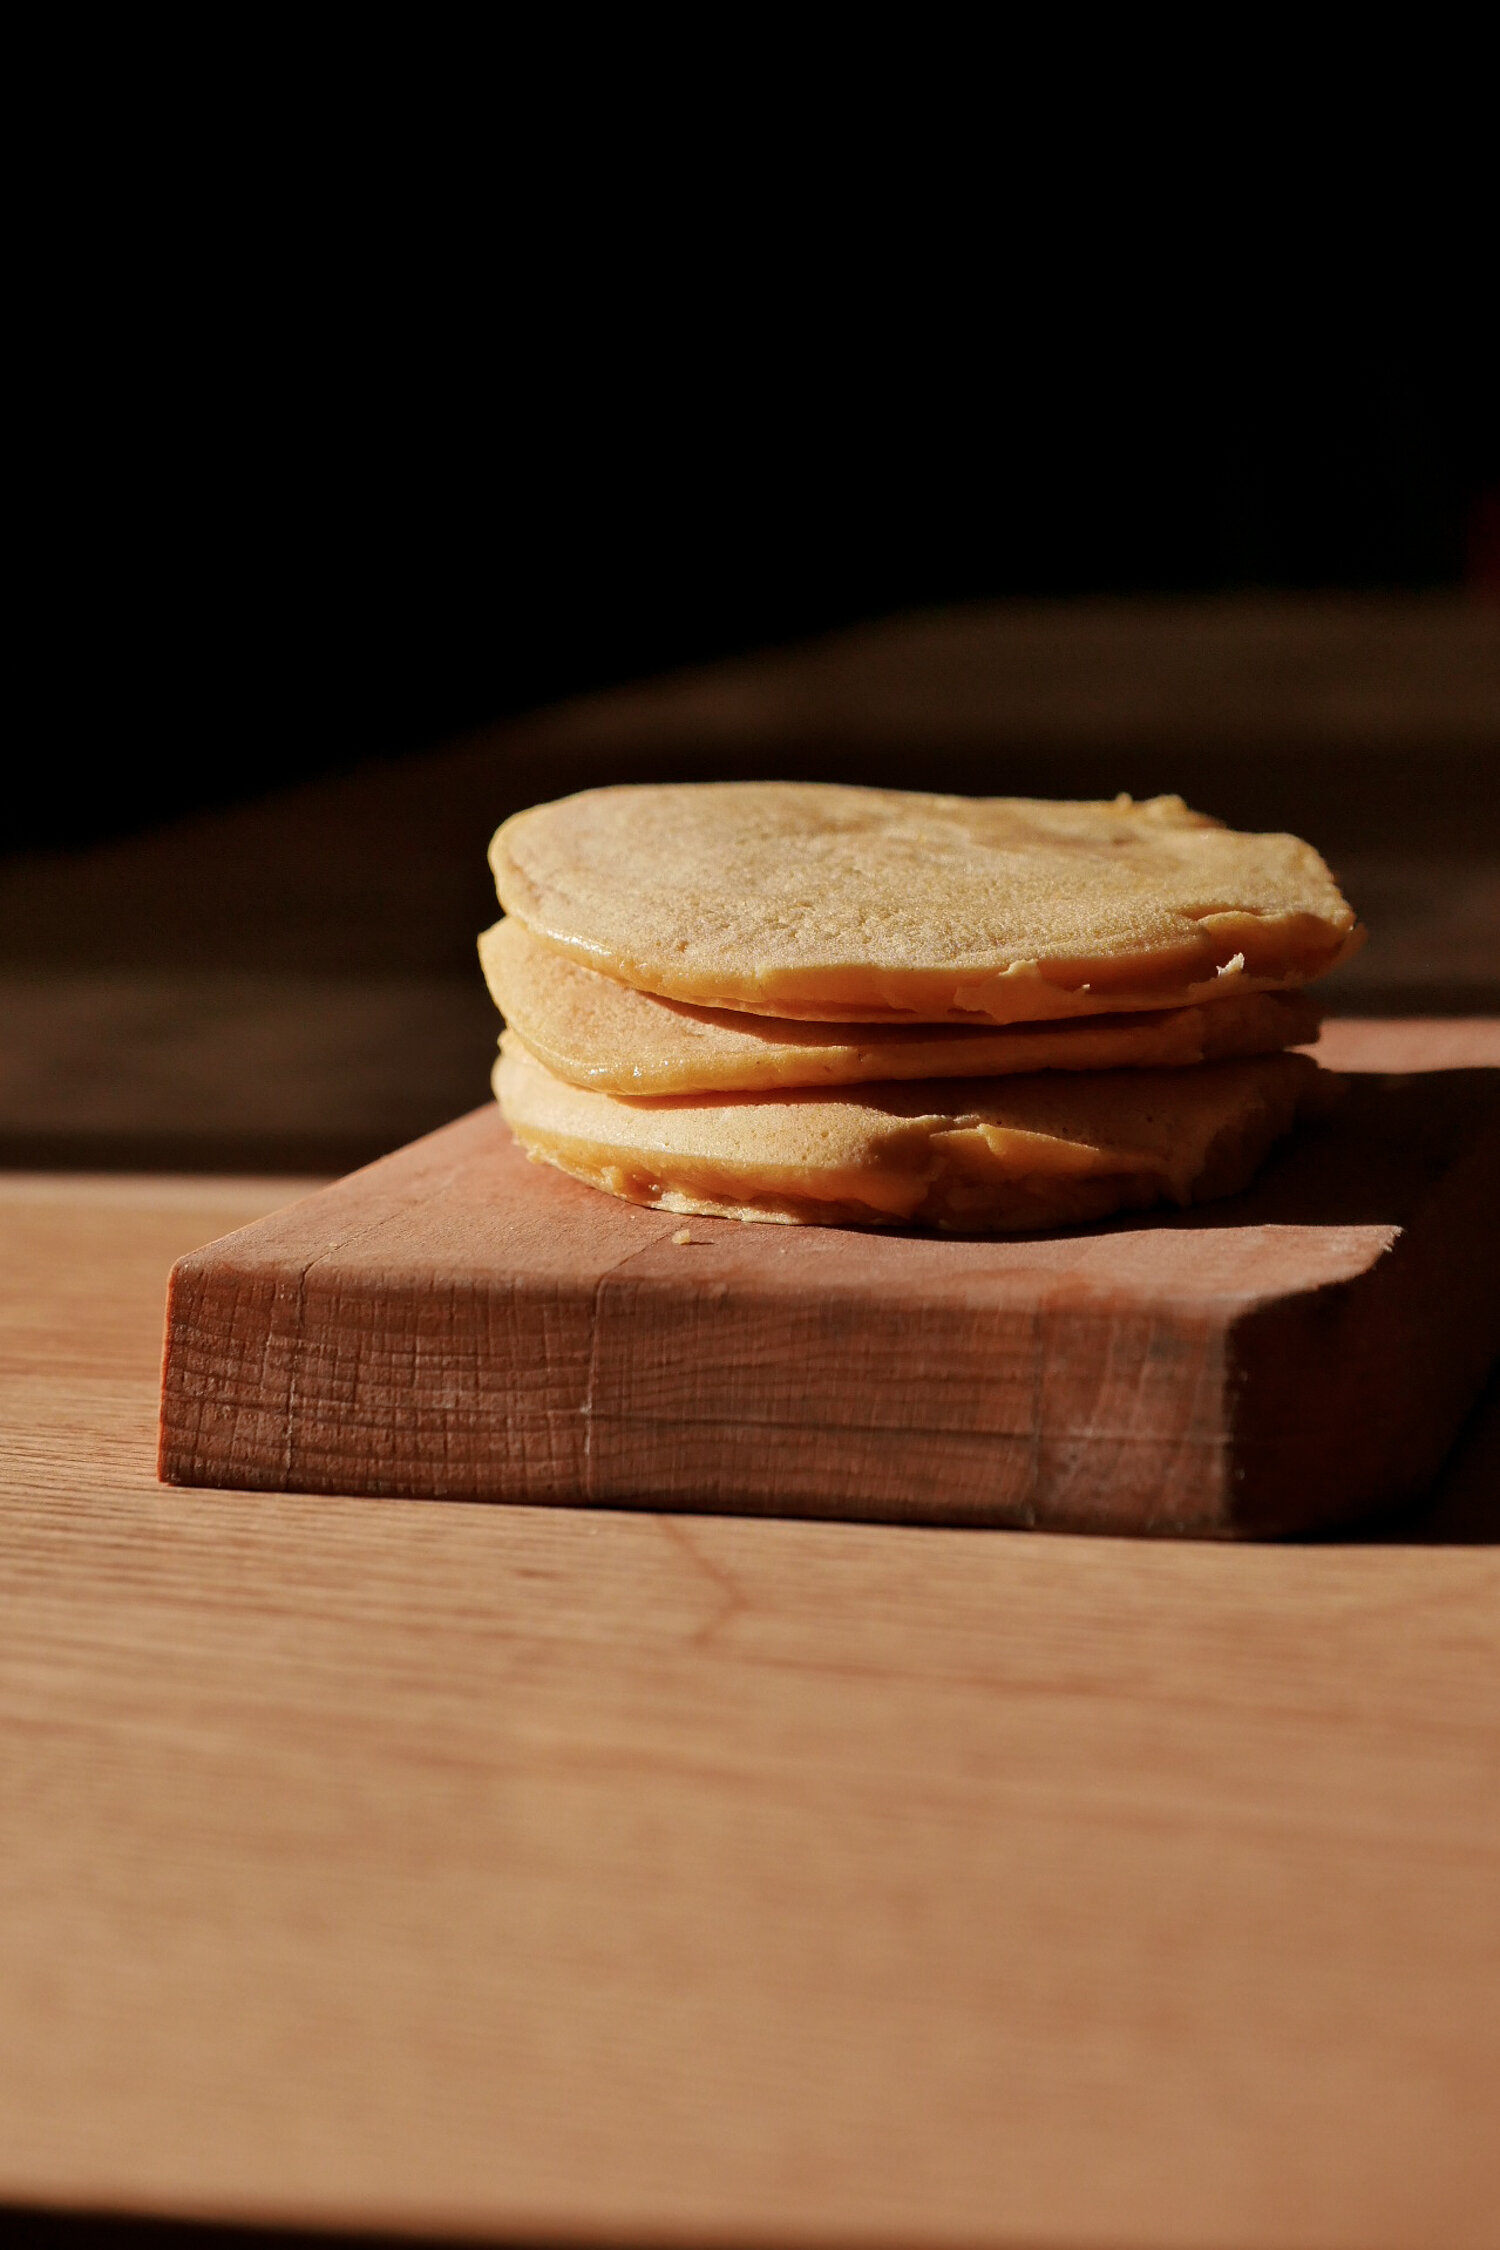
Light and fluffy chickpea pancakes.

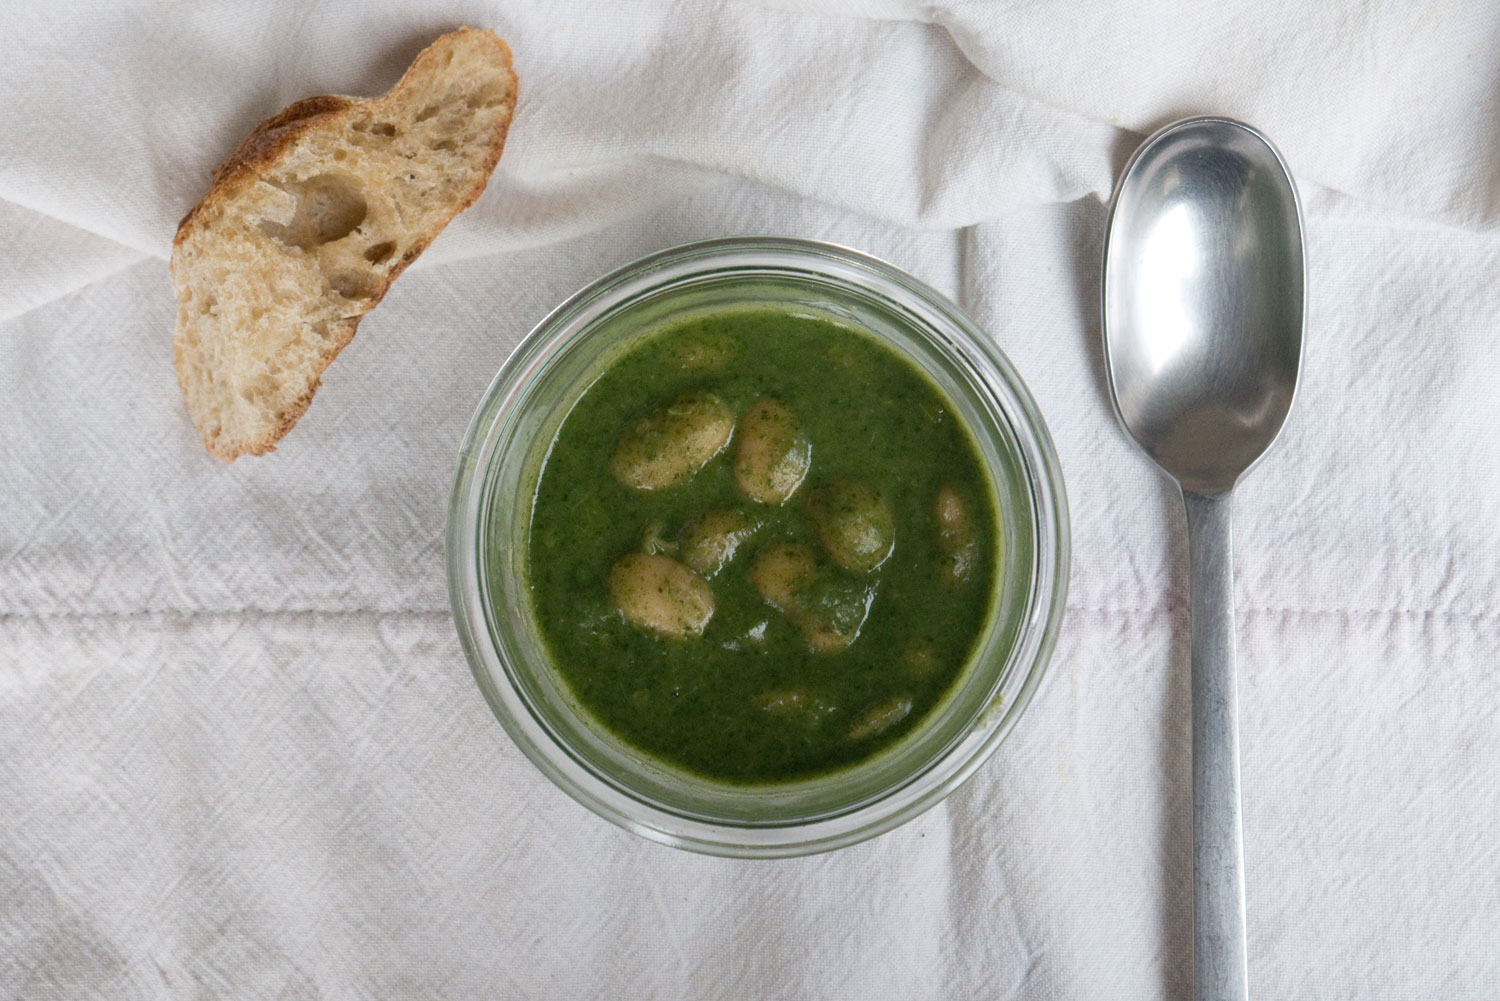
Five spice roasted apple and veggies.
I had some precious flour here: I wanted to eat it in its simplest state, so pancakes it was. I went straight to Yotam Ottolenghi’s recipe for the chickpea pancakes. I was inspired by his toppings; however, I wanted a touch of sweetness to this savory pancake dish so I improvised with what I had and tossed in an apple or two to the recipe and added my favorite Chinese seasoning, five spice powder: cinnamon, fennel seeds, star anise, Sichuan peppercorn and cloves, et voilà.
Chickpea Pancakes (adapted from Yotam Ottolenghi)
INGREDIENTS//Yields 6 pancakes
• 100 grams flour
• 1/2 sachet fast action yeast (4g)
• 1/2 teaspoon caster sugar
• 1/4 teaspoon salt
• 1 small (or ½ large) egg, beaten
• 1/2 teaspoon baking powder
• Vegetable oil, for frying
Roasted Apple and Eggplant Topping
• 2 Granny Smith apple, peeled and chopped into bite-size squares
• 2 medium eggplants, peeled, medium dice
• 1 green pepper, medium dice
• 1/2 teaspoon cinnamon powder
• 1 teaspoon five spice powder
Garlicky Yogurt Sriracha Dressing
• 1 clove garlic, grated
• 250 grams Greek yogurt
• 1/2 tablespoon sriracha
• 1 teaspoon lemon juice
• salt, adjusted to taste
Instructions
Pancake
In a medium size mixing bowl add the first three dry ingredients: flour, yeast, sugar.
Add the egg and 100ml water, and whisk until smooth.
Cover with cling wrap and set it aside for an hour. It will double in size.
Then mix in the baking powder and let it sit for 10 minutes longer.
Heat up a large pan on medium heat and add a tablespoon of oil.
Add a a ladle of batter per pancake into the pan (I fit up to 4 in mine).
Cook for approximately four minutes, turning it over halfway through, until they are light and fluffy, and golden-brown.
Roasted Apple and Eggplant Topping
Preheat oven to 245° celcius (475° F).
Salt the diced eggplant and leave it to drain for about forty minutes to an hour.
Pat the eggplant dry with a clean towel.
Add all the ingredients into a baking dish, stir in the five spice powder and cinnamon powder, and drizzle some olive oil.
Place in the oven for approximately 30-40 minutes.
Stir the vegetables around every 10-15minutes.
Garlicky Yogurt Sriracha
In a medium size mixing bowl combine all the ingredients and stir.
Add salt accordingly.
NOTE
While the chickpea batter is set aside I would prepare the roasted vegetables and the sauce. Otherwise, you can prepare the roasted vegetables and sauce ahead of time. The idea is to have the veggies and sauce ready to top the pancakes as they come off the skillet, nice and hot.